A couple of days ago, Tom and I went to our local home improvement store and bought some materials to build a brooder for our future chickens. We decided to build this now since we will need one within a few months and the weather outside has been so wet we can’t do much out there right now.
We bought two 4ft x 8ft plywood sheets and had them cut in fourths so they are 2ft x 4ft for a total of eight sections. We also got 1in x 2in boards cut to 4ft pieces. In addition, we bought some wood screws, 4 small bricks, 10 large blocks, wire ties, a length of light chain, and a 10ft roll of 2ft wide hardware cloth.
On the first day we began building the brooder box. Tom laid two of the plywood sections side by side to make a 4×4 square. He then screwed 4 of the 1×2 boards around the outside edges cutting them slightly to fit. He added another board along the seam to add strength there. Flipping it over so that the 1×2 boards were face down, we we then screwed two more of the plywood sections to opposite sides of the bottom of the brooder to make two walls. Since that left the walls very flimsy, Tom cut a couple of the 1×2 boards down to slightly less than 2ft and screwed them to the inside of the two walls at the corners. Third, the other two walls were screwed on. That completed the brooder box.
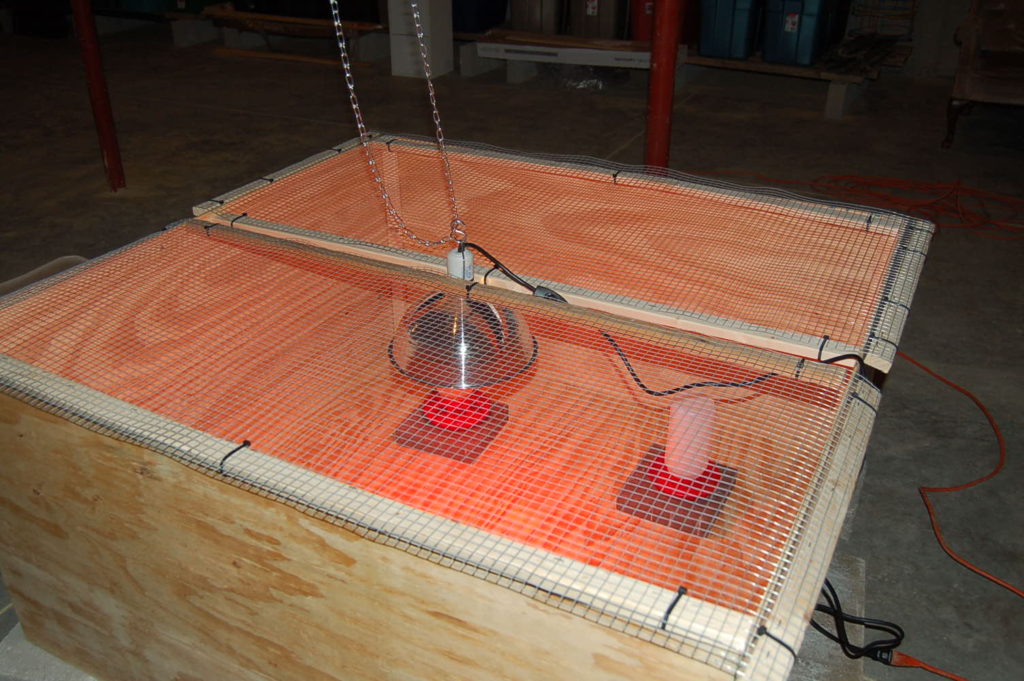
The next day we began working on the lid. The hardware cloth was cut into slightly longer than 4ft sections. Tom wire-tied several more 2ft lengths of 1×2 boards to the ends making sure that the ends overhung the top and on the outside of the brooder box walls. Once we were sure that was the case, we stapled the hardware cloth very securely to the 1×2 boards. We added a slightly less than 4ft board to the hardware cloth so that it hung on the inside of the brooder box wall and making sure that the hardware cloth fully covered the edges. The hardware cloth overhung the 1×2 board slighty. A second length of 1×2 board completed the other edge so it would not sag in the center. That made one half of the lid. We then made a duplicate. When both were on there was a very small gap between the the two – just enough space for the heating lamp top.
Next, I went to the local farm store and got chick feeders, waterers, a heat lamp, red bulb, and thermometer. We placed the brooder up on the large blocks to keep it off of the cold cement floor. I placed the feeder and waterer on the little bricks to add enough height so they will be out of the litter and be on a stable surface. I hung the heat lamp from the chain attached to a nail that was in the rafter then spent a little time testing the proper height of the lamp to get 95 degrees. We are now ready for chicks! Well, except for food, grit, litter and the chicks of course! See the picture below!
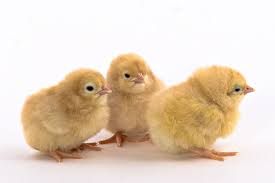
Our plan is to get around 6 – 8 Buff Orpington chicks probably around the end of March. In the meanwhile, we will begin planning the chicken coop and all the other projects we have queued up.